How to Draw Cool Designs Step by Step
This smiling emoji wearing sunglasses is arguably the most often used emoji. This emoji can signify different meanings, depending on what bulletin they accompany.
Generally, this emoji is most usually associated with feeling cool or awesome. The popularity of this specific emoji has created a huge demand for a tutorial. Now, you've asked for it, and then nosotros delivered.
Fortunately, we have curated a step-past-step tutorial on how to draw cool things summarized in nine piece of cake and simple steps. With this comprehensive guide, drawing cool things is made easier.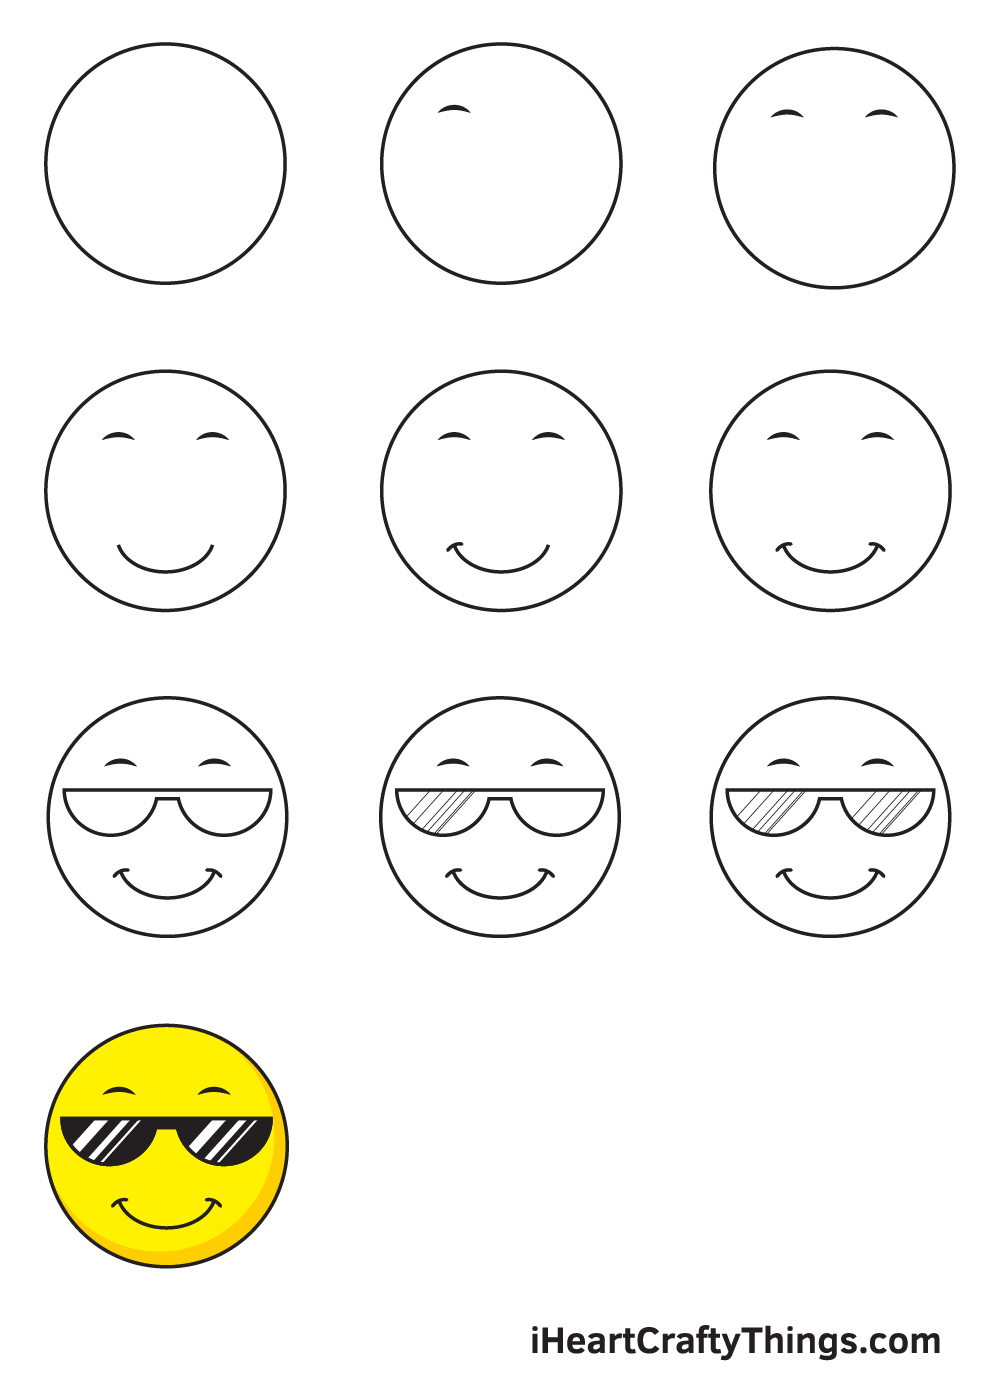
Each stride is accompanied with comprehensible illustrations that serve as your visual guide as you follow the instructions. All you demand is a pen and paper and you're all set to depict!
Whether you are a novice or an expert in drawing, we're sure you can follow these steps effortlessly. What'due south more than, y'all tin add your own style and improvise in every step.
Experience gratuitous to mix and match colors to customize your artwork and brand information technology unique. Let your imagination wander and unleash your creativity. Have fun and use your artistic skills!
What's in this Web log Post
- How to Draw Cool Things — Let'southward get started!
- Step ane
- Step 2 — Draw the Left Eyebrow
- Stride three — Afterwards, Draw the Right the Eyebrows
- Step iv — Now, Draw a Wide Smile
- Step 5 — Draw the Left Dimple
- Stride 6 — Then, Draw the Right Dimple
- Footstep 7 — Put Sunglasses on its Face
- Step 8 — Add together Patterns on the Left Lens
- Stride 9 — Next, Add Patterns on the Right Lens
- Your Cool Things Drawing is Complete!
How to Draw Cool Things — Let's get started!
Footstep 1 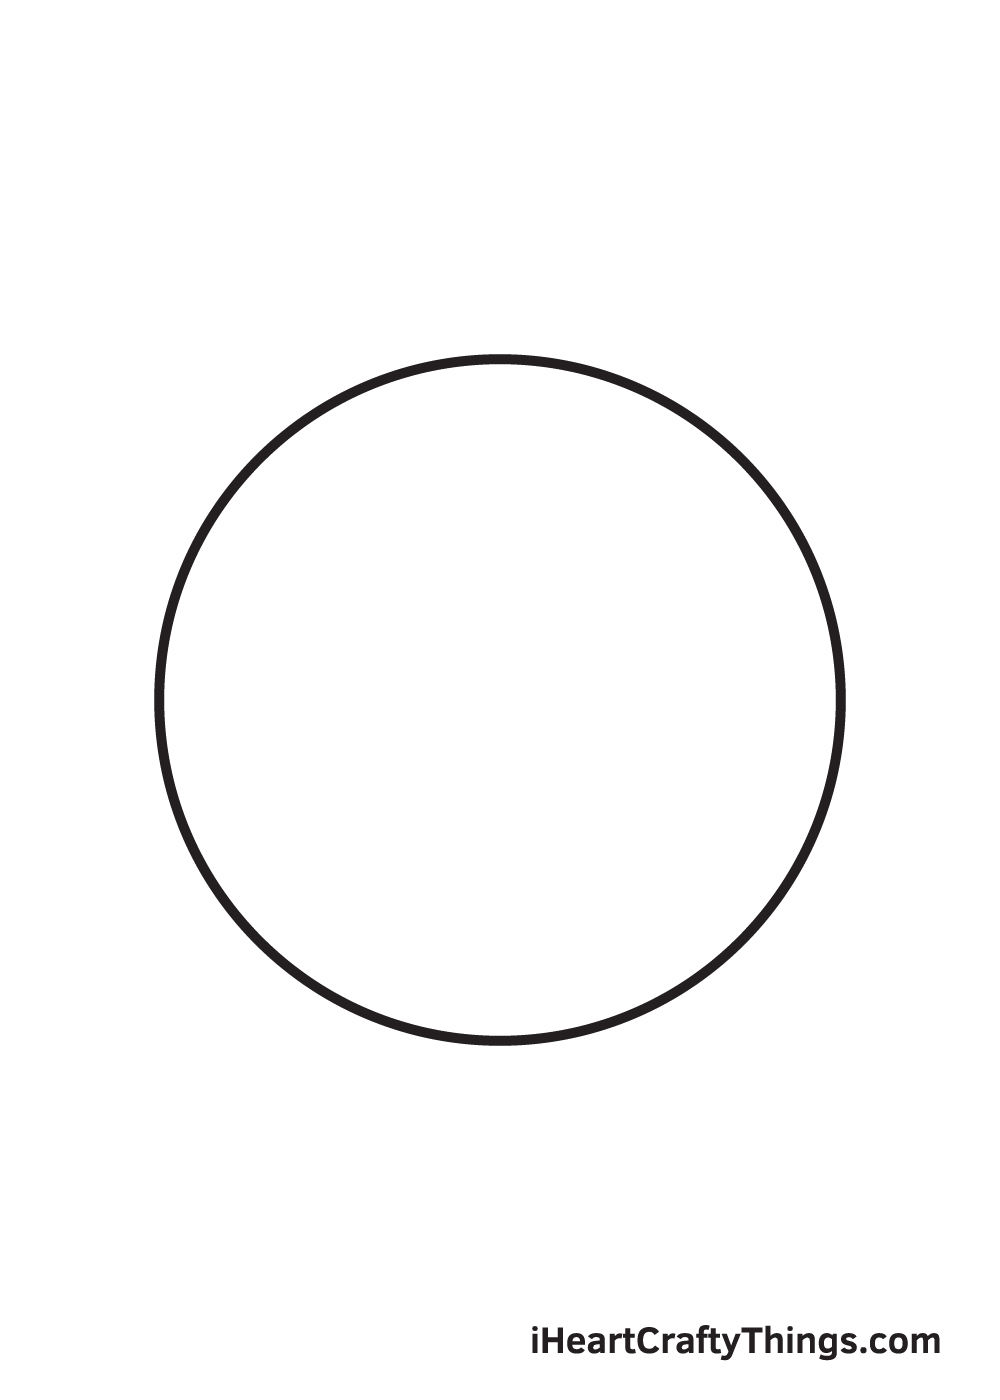
Draw a perfect circle in the very middle of your newspaper. If you tin can't freehand a perfect circle, don't worry!
There's a tool that yous can use to assistance you in drawing a flawless circumvolve, which is called a "compass". Experience gratis to use information technology if you need to!
To ensure that the outline will be positioned in the middle correctly, draw a horizontal and a vertical line across the paper to create reference lines. The spot where the 2 lines meet is where you should draw the outline.
Footstep two — Depict the Left Countenance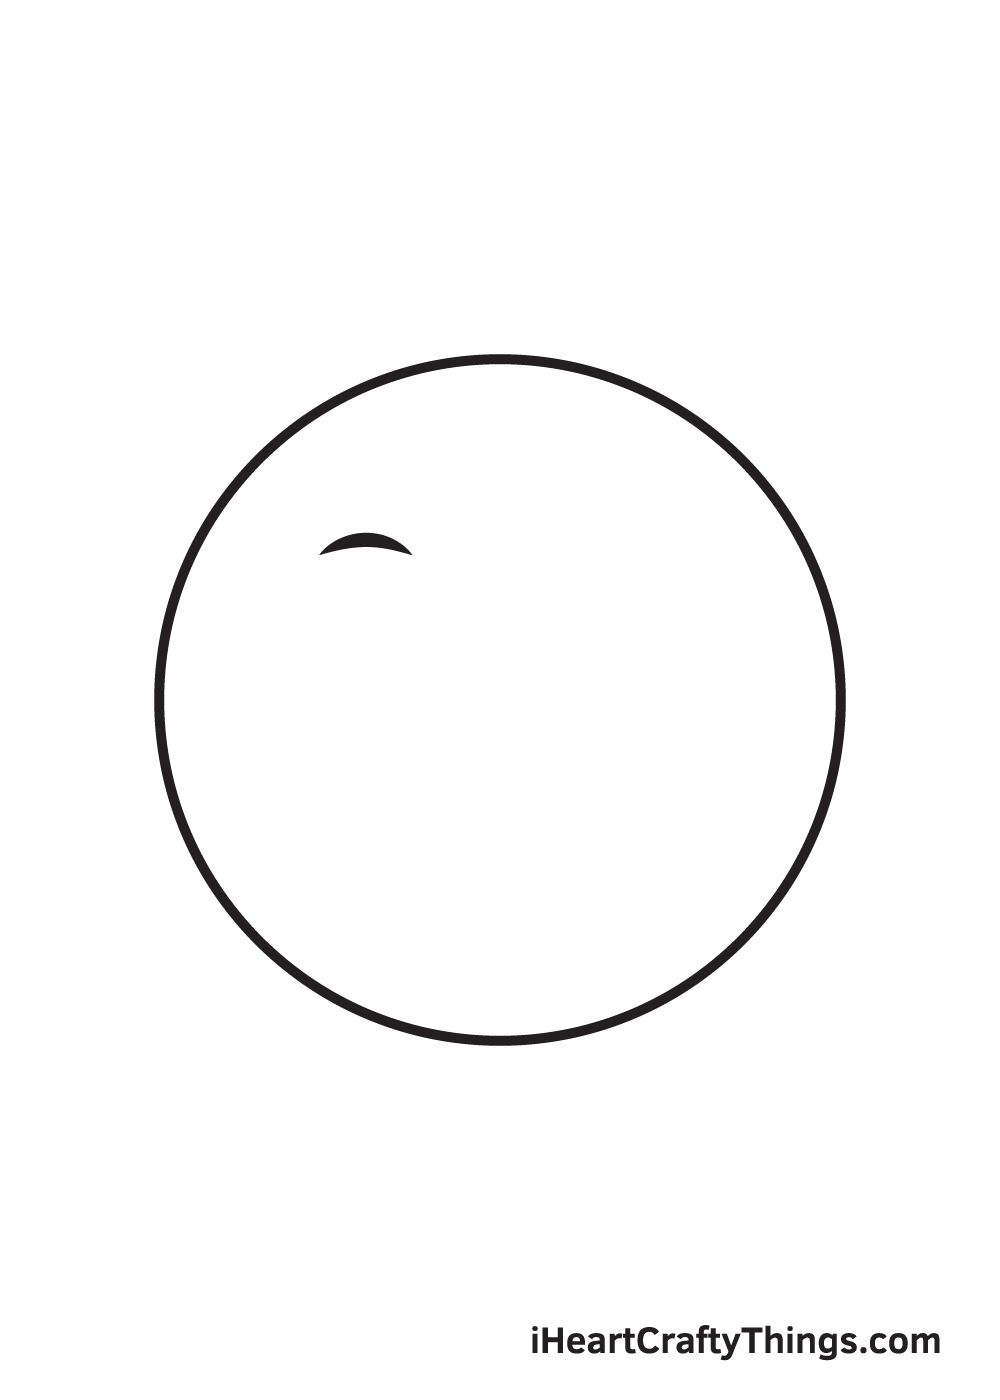
Within the circle, depict an arched eyebrow on the upper left portion of the face.
Step iii — Afterwards, Draw the Right the Eyebrows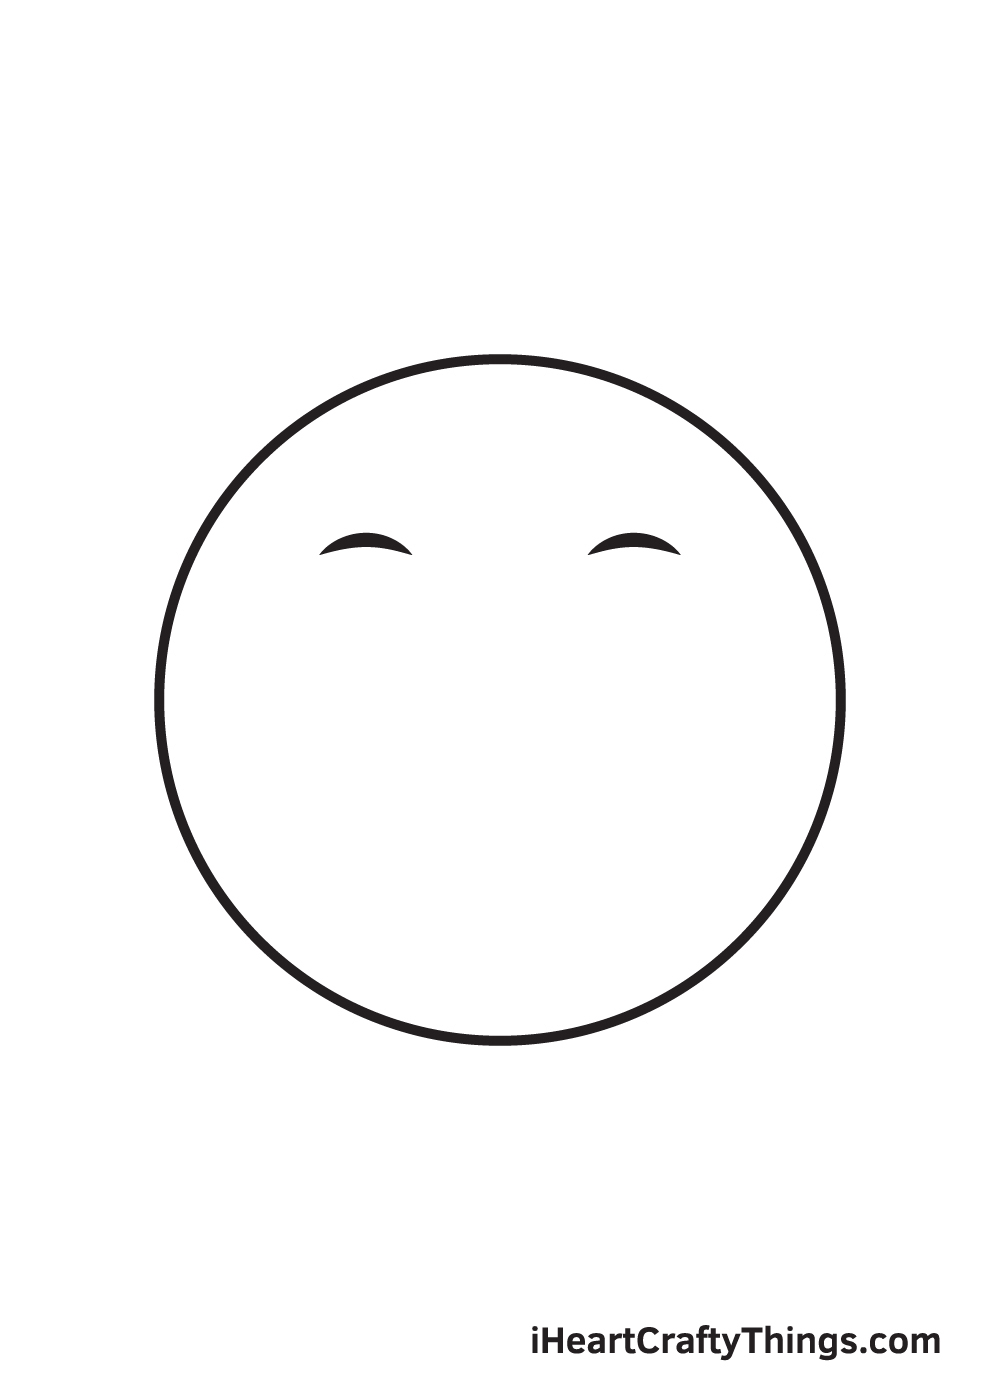
On the opposite side of the face, draw some other curved line to consummate the eyebrows.
Brand sure that the eyebrows wait identical and even. In order to ensure whether their alignment is within the same level, brand employ of reference lines every bit guidelines.
Pace four — Now, Draw a Broad Smile
Depict an upward curved line at the middle lesser of the confront to put a huge grin on the emoji'southward face. The smiling should be positioned just higher up the chin.
Step 5 — Describe the Left Dimple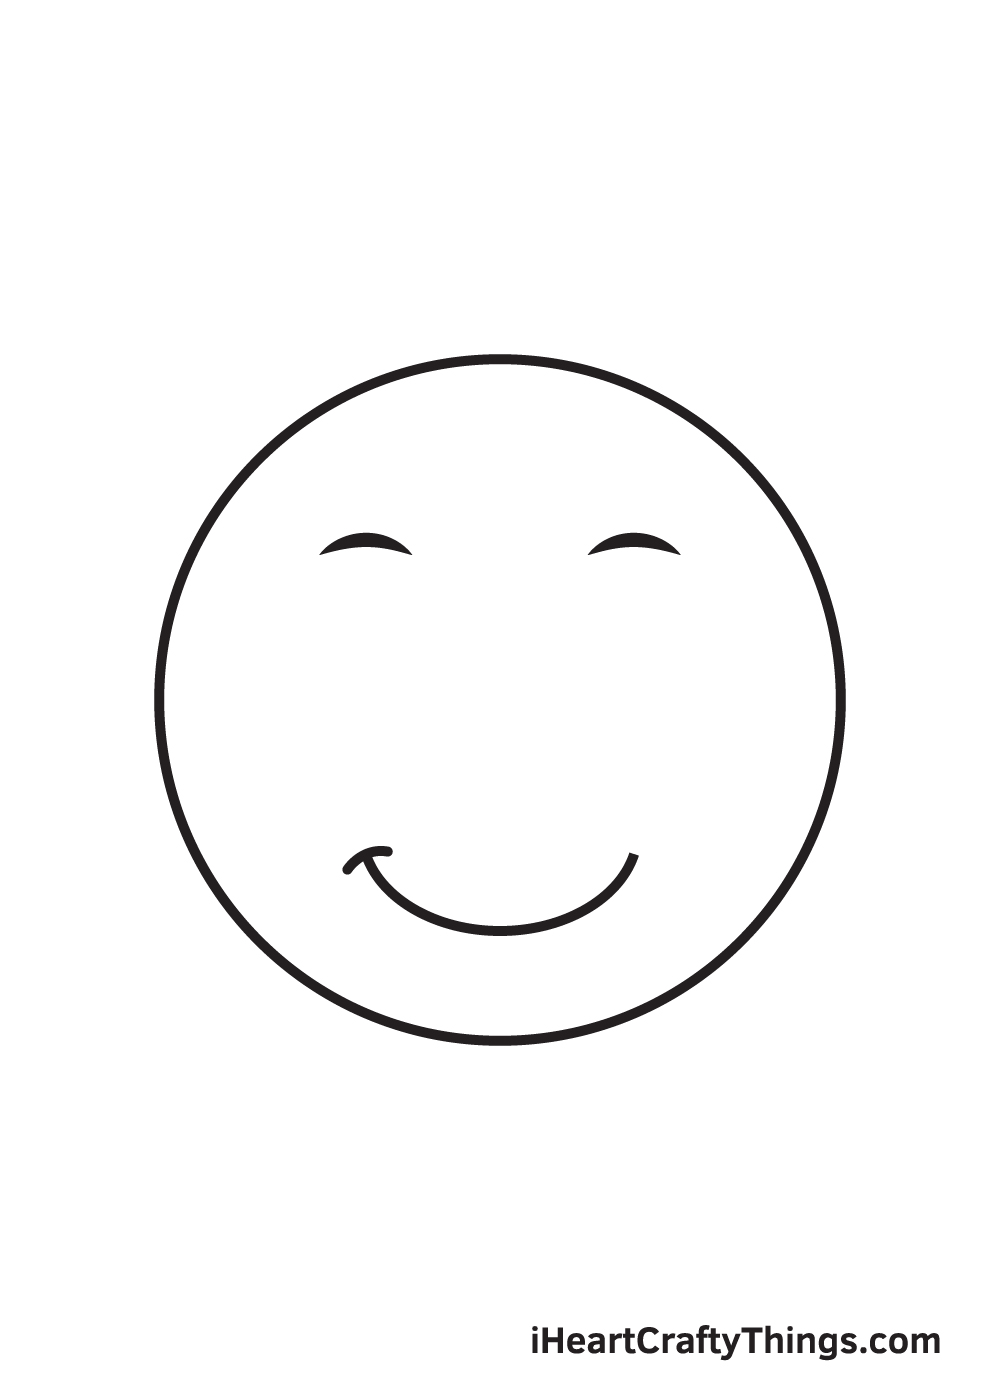
Draw a brusk curved line on the left terminate point of the line forming the smile. This creates the illusion of a "dimple"
Step half-dozen — Then, Draw the Right Dimple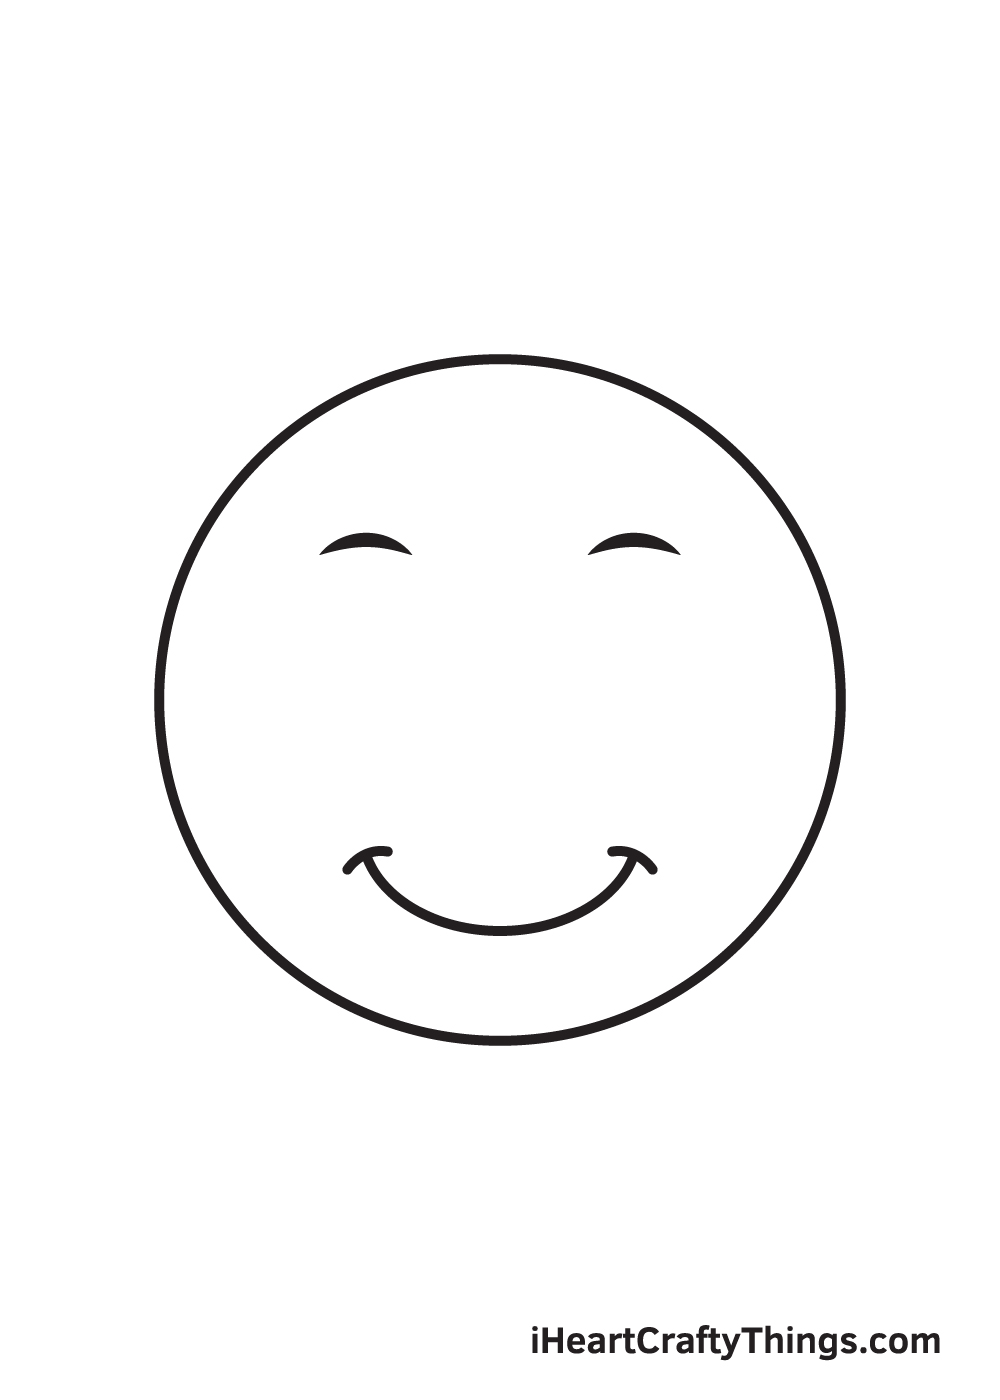
Repeat the previous pace on the opposite end point of the mouth.
Step 7 — Put Sunglasses on its Face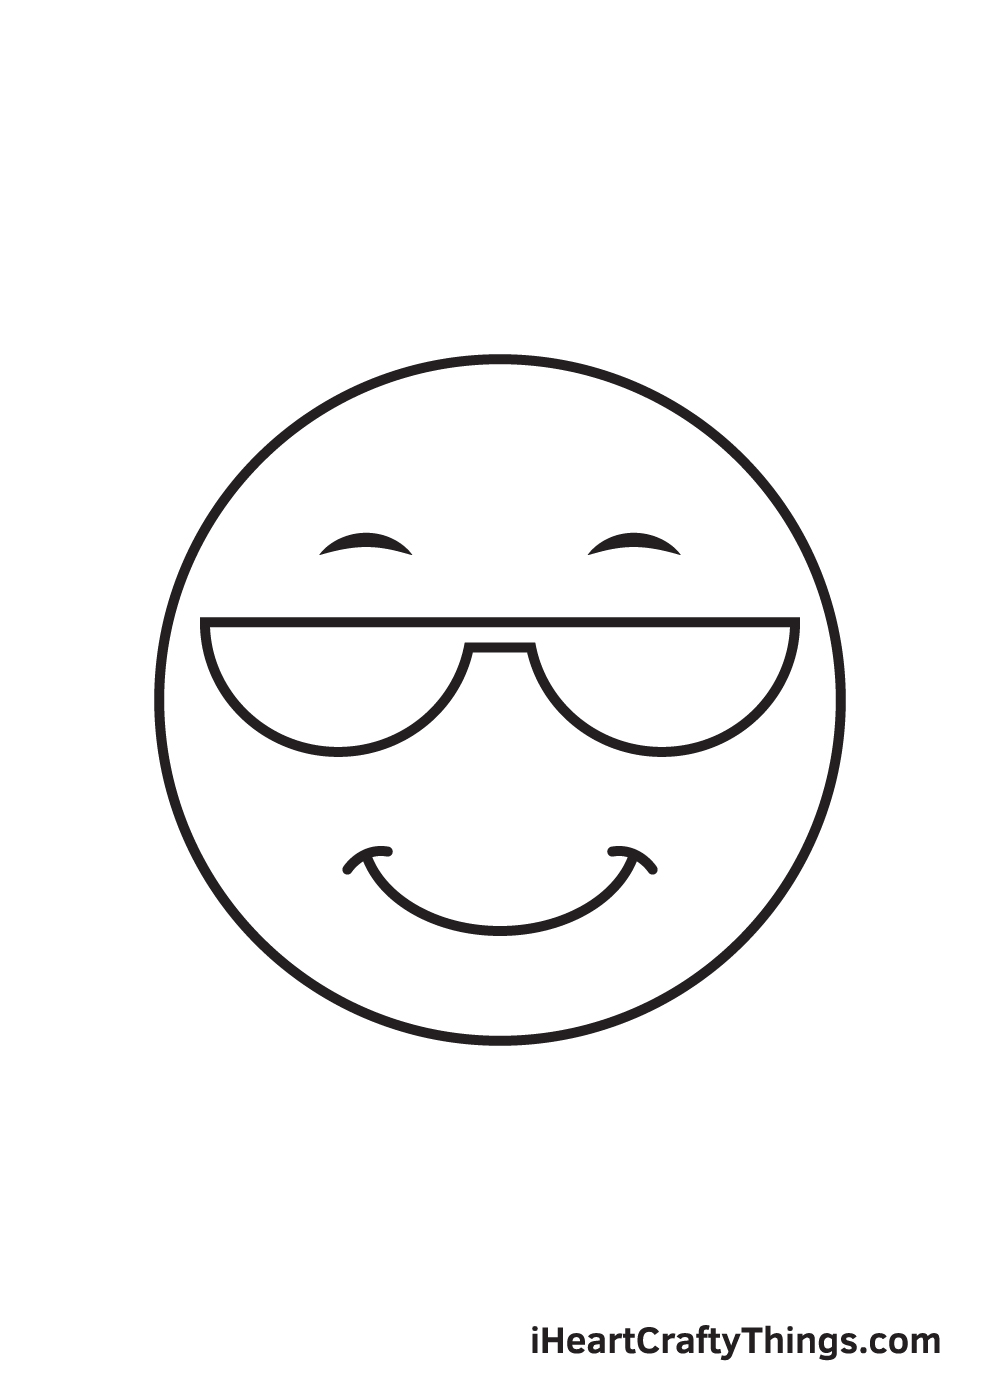
Right underneath the eyebrows, describe sunglasses with half circular frames, every bit shown in the illustration. The eyebrows and the sunglasses should be slightly apart.
Don't hesitate to personalize the sunglasses and draw any way of sunglasses you like. Sunglasses exist in a wide range of shapes and styles, including round, square, rectangle, and more!
Step viii — Add Patterns on the Left Lens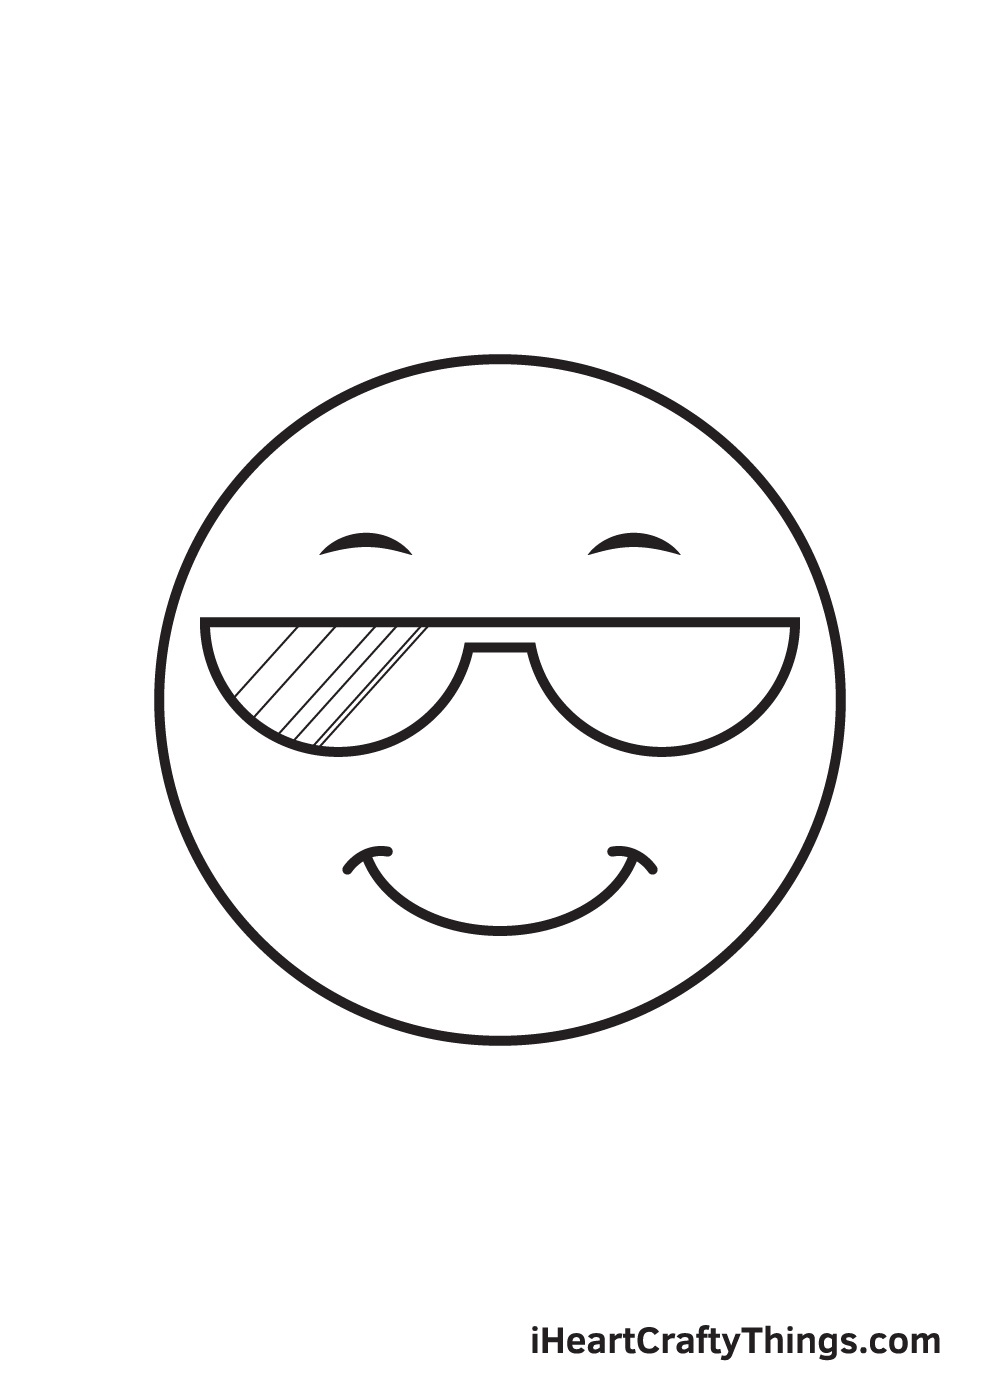
Draw multiple diagonal lines within the left lens of the sunglasses. The spaces between the lines varies to create the illusion of reflection.
Step ix — Next, Add Patterns on the Correct Lens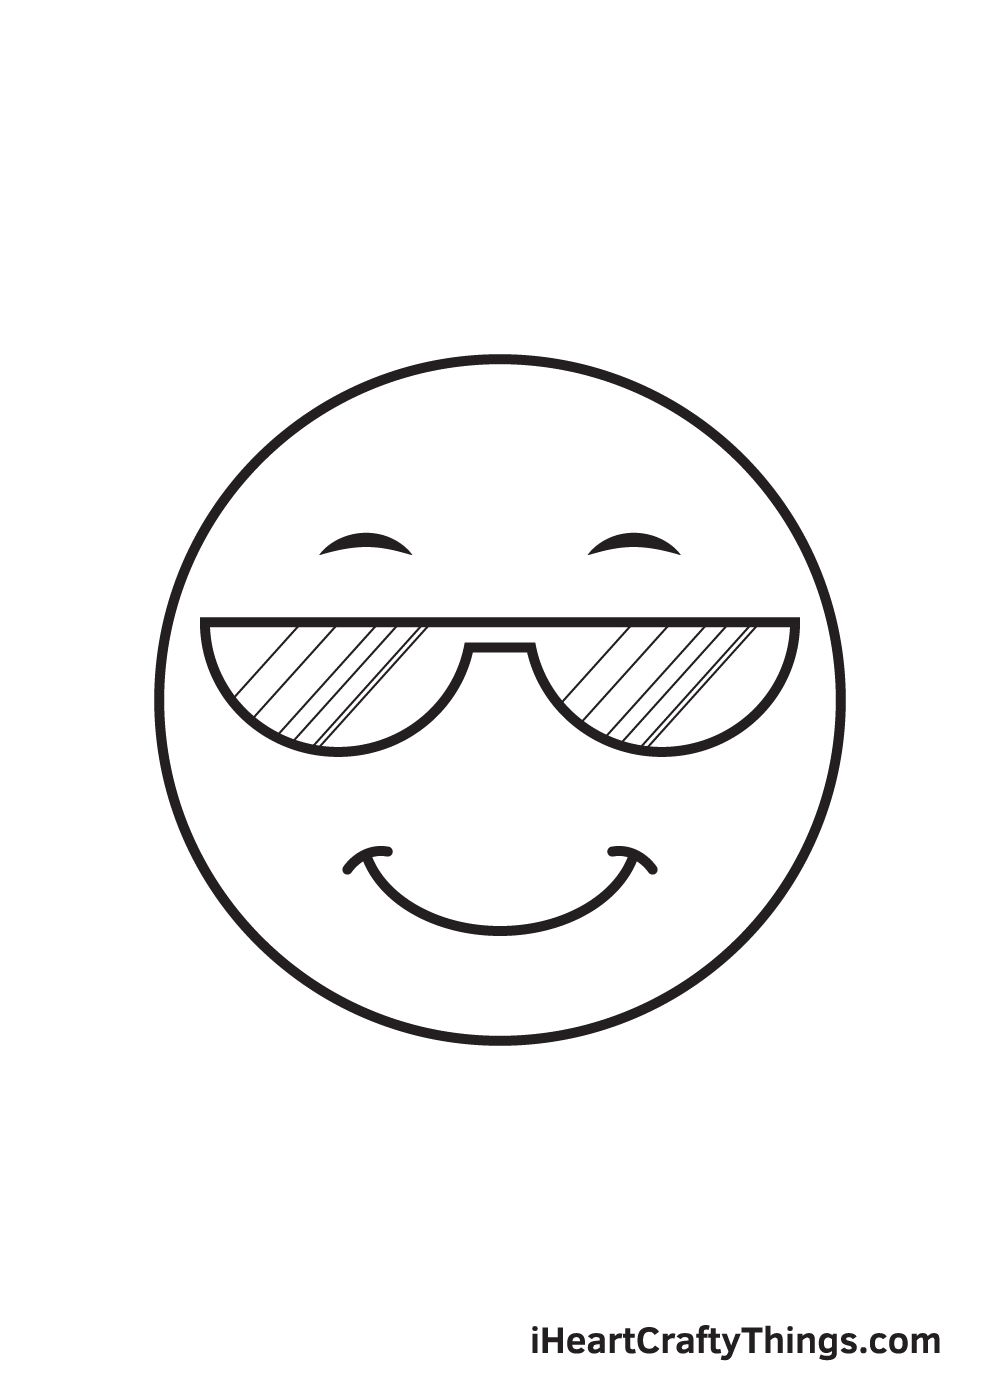
Echo the previous footstep on the other lens of the sunglasses.
Finally, hither is the virtually exciting function—filling in the colors for your crawly drawing! This is the part where yous tin testify off your artistic skills and your ability to mix and match various colors.
This emoji is originally yellow in color and its sunglasses are pitch-blackness. All the same, experience free to color your cool things drawing however you similar and use any colors you lot prefer! And while you're at it, why not try experimenting with different coloring materials as well?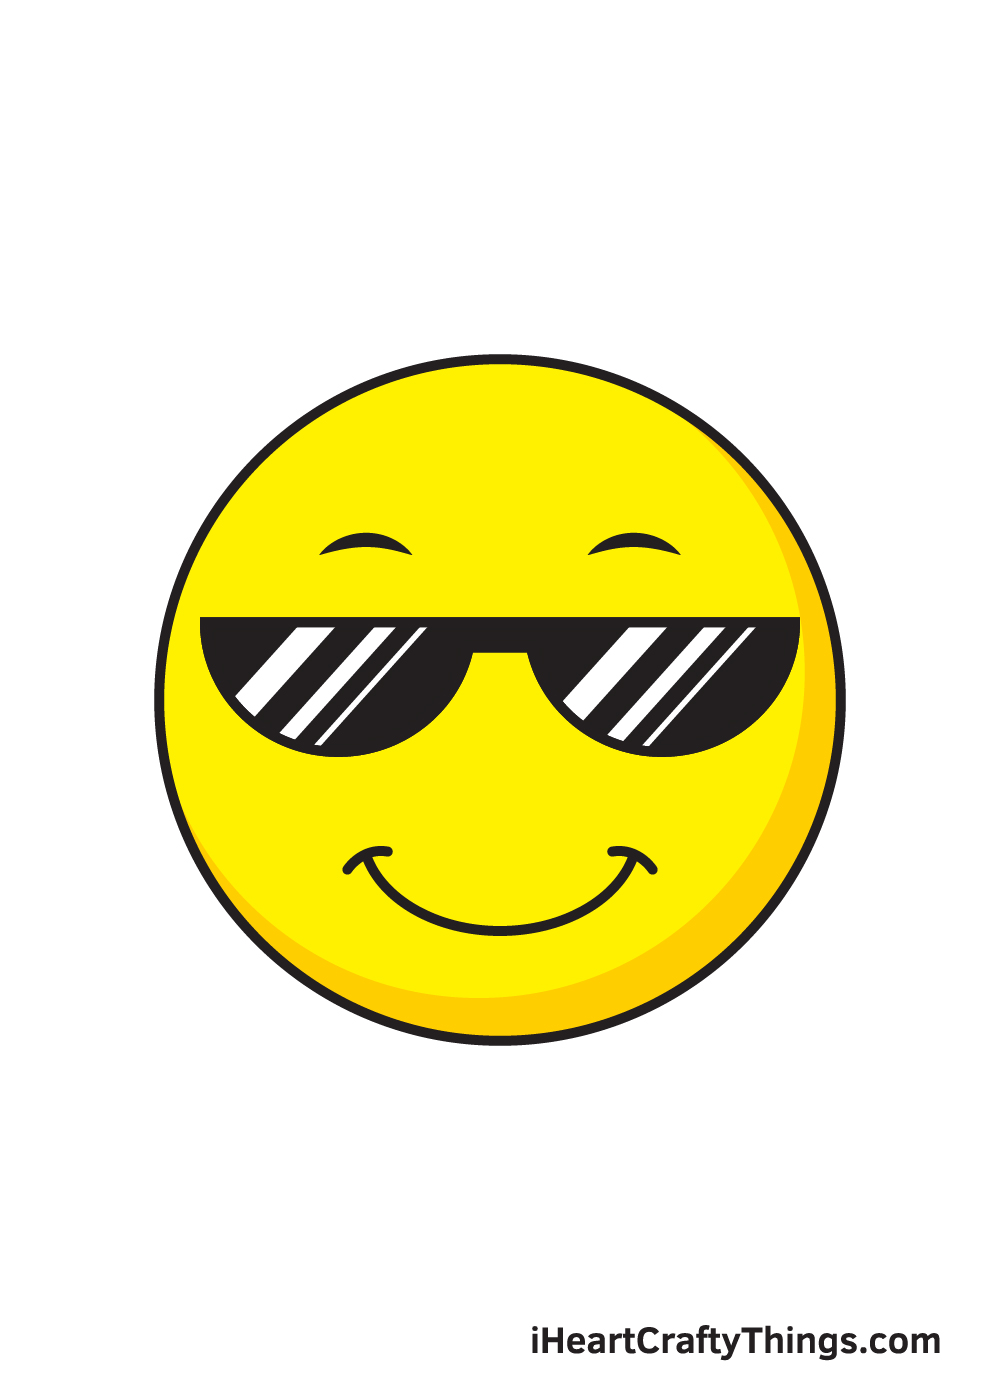
Your Cool Things Drawing is Complete!
We hope you enjoy this step-by-pace tutorial on how to draw cool things. With this guide, you can surely draw and color cool things along with its complex features and elaborate details in no time.
And the nigh fun part is, you can customize its physical attributes and play with various colors equally much as you like!
We are always updating our "How to Draw" itemize, so brand sure to proceed checking back on our website to take advantage of newly uploaded tutorials.
All you lot need is a pen and paper and you lot're all set to beginning drawing! We are excited to see what you volition draw next. We're sure it will be just as amazing as this 1!
In one case y'all've finished your masterpiece, we're sure you lot must be feeling very proud of yourself—as you should be! Completing this cool things drawing is definitely fulfilling.
Make sure to show off your work of art and share information technology on our Facebook folio and on Pinterest. We're sure information technology looks amazing! Nosotros tin can't await to meet your colorful absurd things drawing!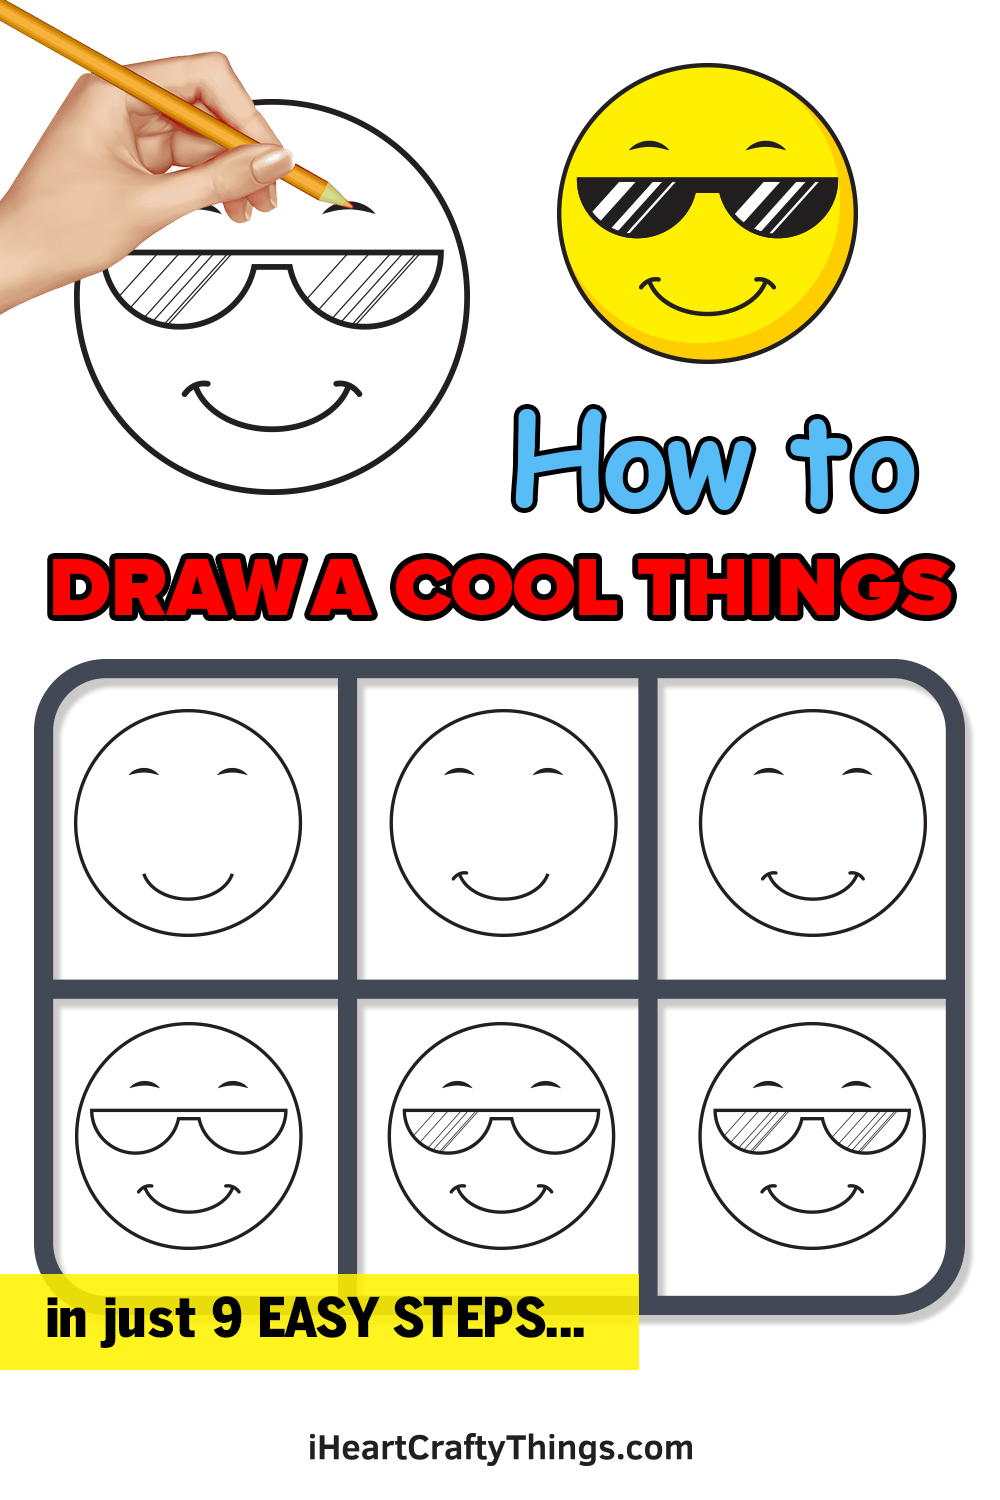
Source: https://iheartcraftythings.com/cool-things-drawing.html
0 Response to "How to Draw Cool Designs Step by Step"
Post a Comment